
Full Shoe Care GuideUpdated a month ago
Jump to
A complete guide to keeping your leather shoes looking their best: daily upkeep, breaking in a new pair, the full shine process from cleaning to wax, suede care, and long-term storage.
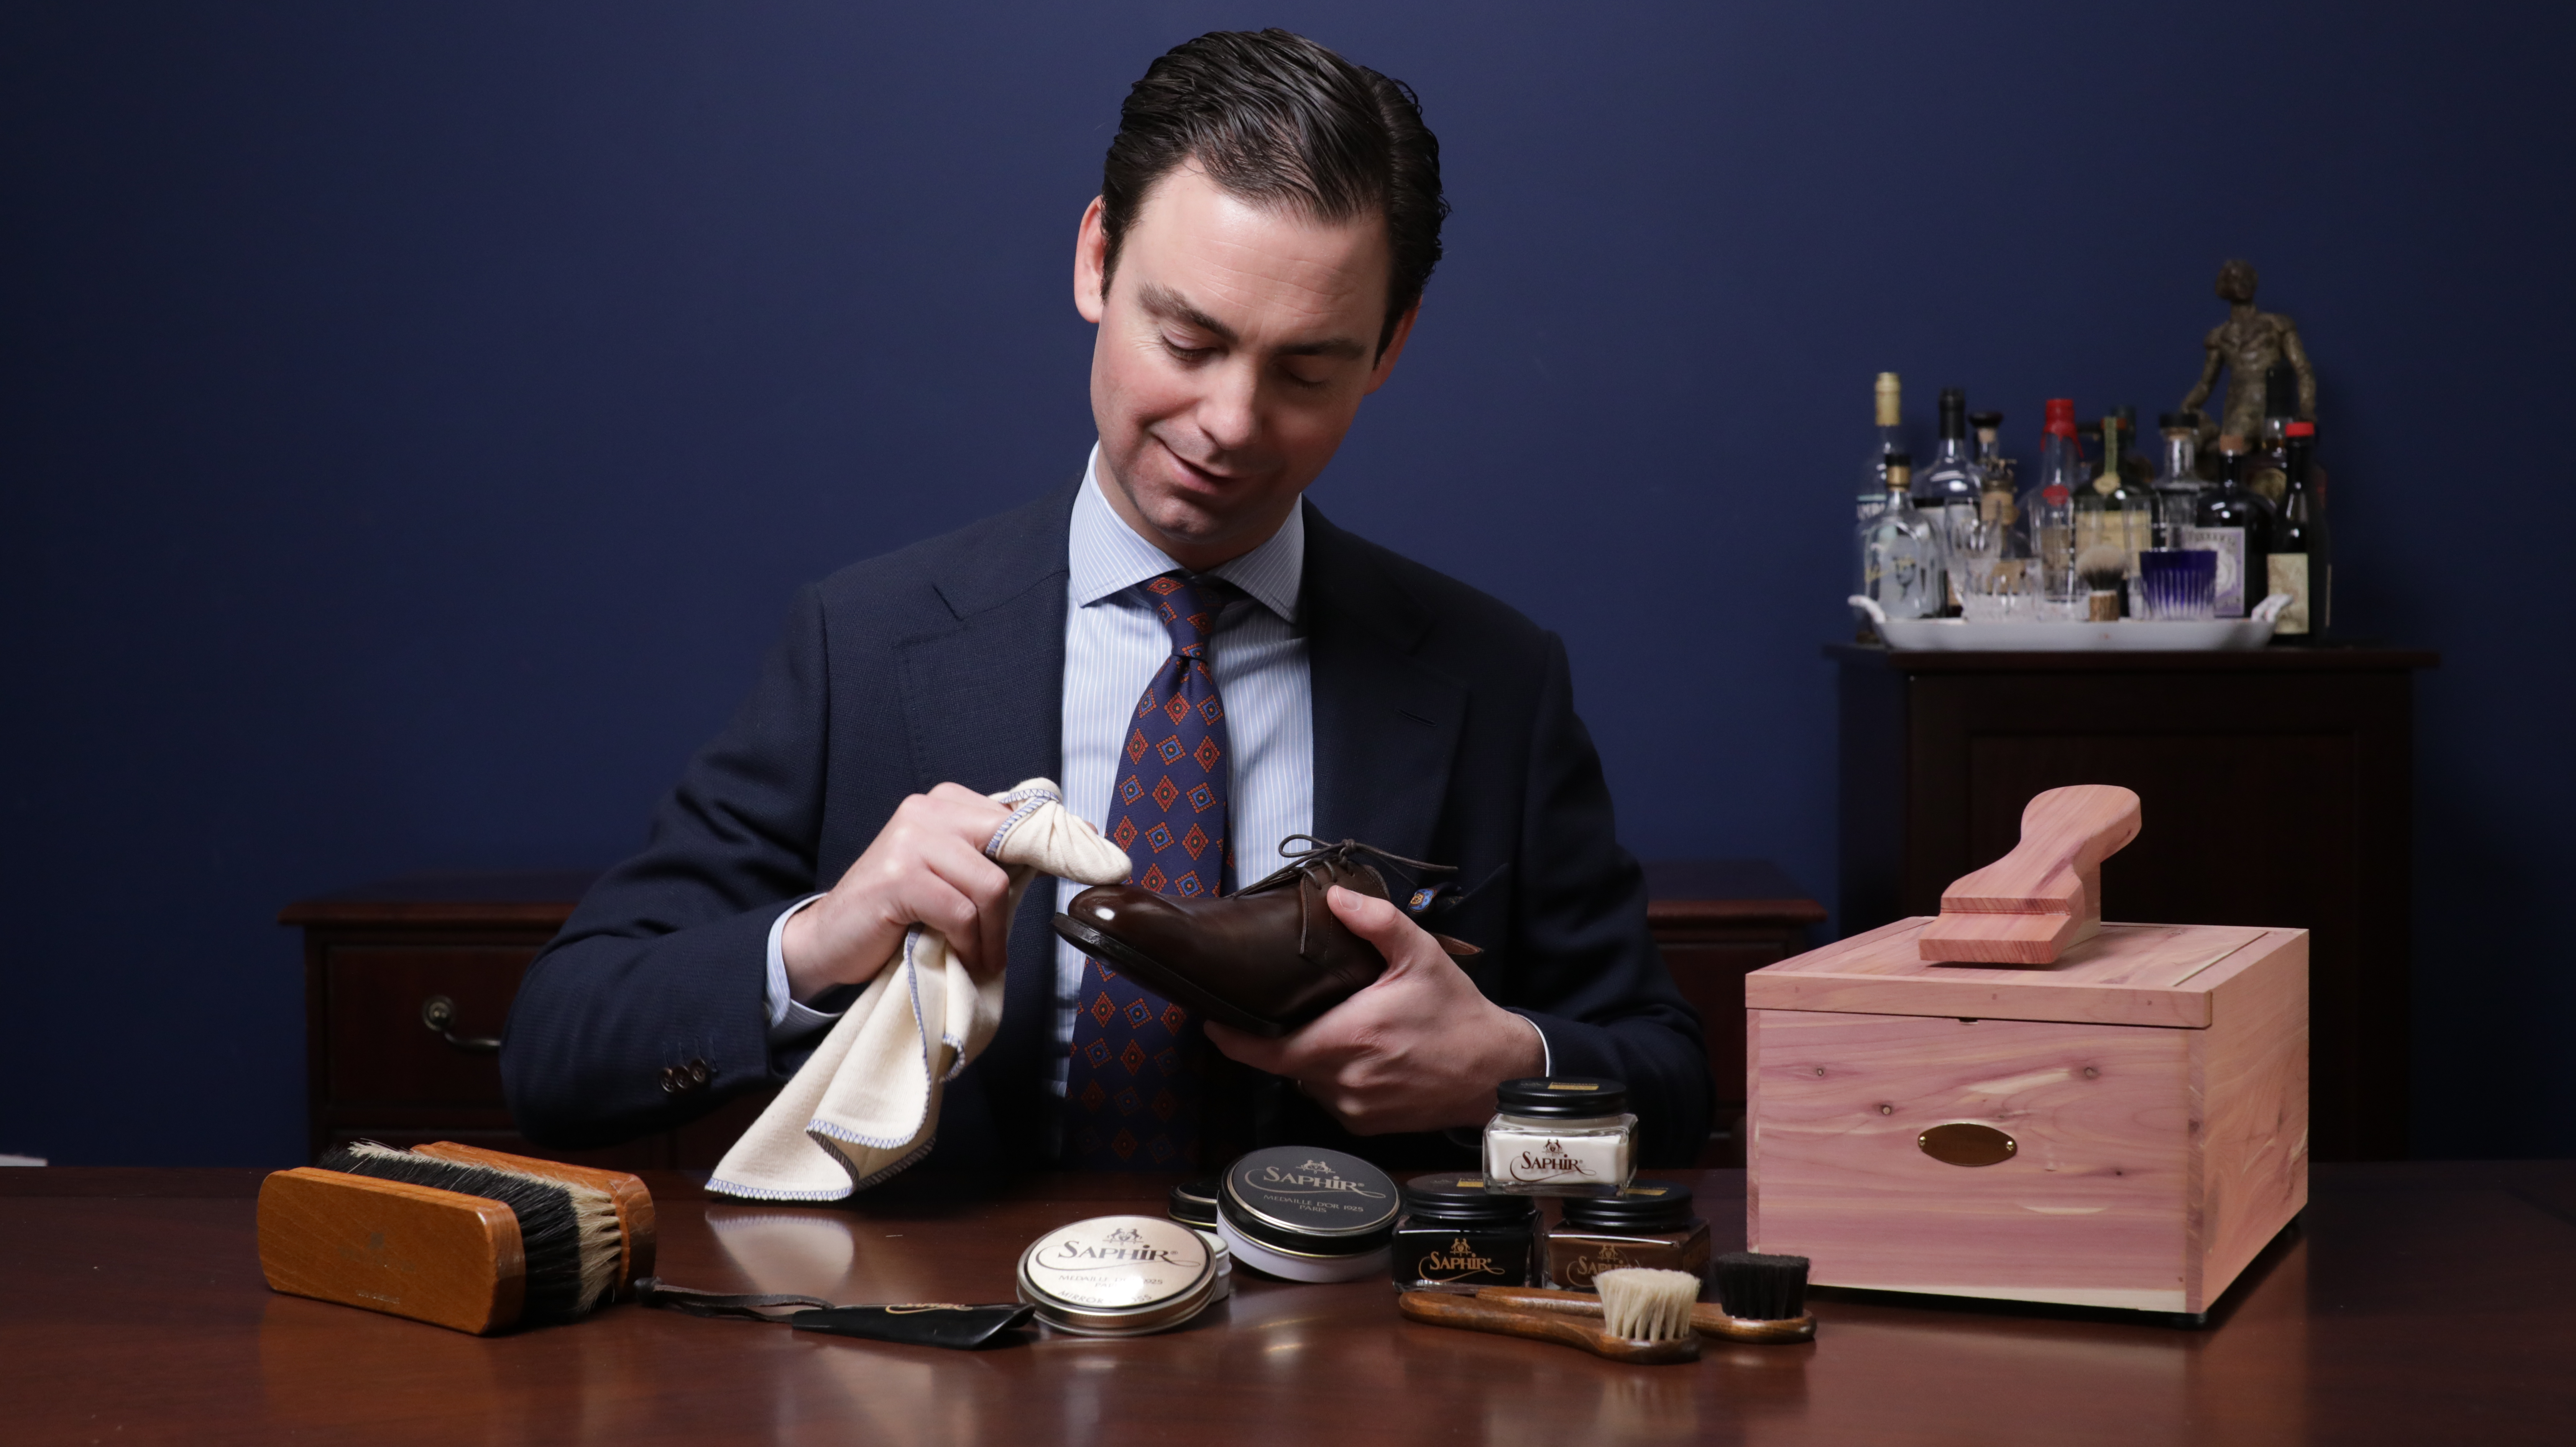
Care at a Glance
A rough guide, actual frequency depends on how often you wear a pair and the conditions they see.
| Task | How often |
|---|---|
| Brush & shoe trees | After every wear |
| Condition | Every 4–6 wears, or whenever the leather feels dry |
| Cream polish (color) | Every 4–8 wears, or when the color looks faded or scratched |
| Wax shine | As needed to maintain shine, or before a big occasion |
| Suede brushing | After every wear |
| Suede deep clean | When visibly dirty or stained, otherwise as needed |
| Suede condition & waterproof | When new, then every 1–2 months or after each deep clean |
| Professional service | Roughly once a year, or when buildup or dullness sets in |
Daily Care
Most of what keeps shoes looking good has nothing to do with polish, it's what you do the moment you take them off.
- Insert shoe trees before storing your shoes. Cedar trees pull out moisture and hold the shoe's shape while it dries.
- Brush off surface dust with a finishing brush before it has a chance to grind into the leather.
- Wipe away any dirt, salt, or water spots with a slightly damp cloth as soon as you notice them.
- Rotate at least two or three pairs so no shoe is worn on consecutive days, leather needs time to fully dry out between wears.
Caring for New Shoes
Before the first wear or shine, nourish new leather with a conditioner like Saphir Renovateur, a beeswax and mink oil conditioning formula that hydrates open-grain calfskin. New shoes usually don't need color correction yet, focus on conditioning and a light wax buff rather than a heavy cream application.
Break a new pair in gradually over the first several wears rather than treating them aggressively right out of the box.
The Full Shine Process
A complete shine builds in layers, each step prepares the leather for the next.
1. Cleaning
Remove dust and dirt with a horsehair brush, then use a leather cleaner on any embedded grime. Let the leather dry fully before moving on. ▶Find Cleaners here.
2. Conditioning
Apply a conditioner to rehydrate and nourish the leather. Let it absorb, then buff off any excess with a clean cloth. ▶Find Conditioners here.
3. Cream Polish (Color)
Cream polishes are semi-transparent and pigment-heavy, a little goes a long way. Apply in thin, pea-sized dabs with a cotton or chamois cloth, massage in circular motions, and let dry for about an hour before brushing out and buffing with a soft cloth. ▶Find Cream Polishes here.
4. Wax Shine
A hard wax like Pate de Luxe builds gloss and protection on top of the cream. Apply thin layers with a high shine chamois, buffing between layers, more layers means more shine.
A Mirror shine is built by layering wax on just the hard, non-flexing areas, the toe box and heel counter, until the wax fills the leather's pores and reflects light like glass. Never apply it to areas that flex, like the vamp, it will crack. Build three to five thin layers with a chamois while tapping on water with another finger to avoid using too much water. Mirror Gloss will get you there quicker but it can take more experience to get it done right. Otherwise Pate de Luxe for 3-7 layers before going in with Mirror gloss. ▶Find Waxes here.
▶ Watch: A Complete Mirror Shoe Shine Walkthrough
5. Weatherproofing
A protective spray adds water resistance, worth doing before wet weather or heavy winter wear.
Choosing Your Polish Color
- Neutral is the safest choice. It conditions and shines any color but black without risk of shifting the shade, a practical option if you're caring for several different colors of shoe.
- When torn between two close shades, go slightly darker. A darker cream does a better job masking scratches and reviving faded color than a lighter one.
- Color change is gradual. Only a small fraction of a cream's pigment stays on the leather per application, so it takes many treatments before a colored cream noticeably shifts your shoe's shade.
- Alternate colored and neutral cream if you're nervous about altering a complex patina, this keeps shoes conditioned and shined without building up pigment over time.
▶ Full guide can be found here.
Leather Type Considerations
Calfskin (Most Dress Shoes)
The default process above, cleaning, conditioning, cream polish, and wax, is written for smooth calfskin. This process is also for textured finishes like pebble grain, which just needs a lighter hand with wax.
Shell Cordovan
Cordovan's tight fibers need solvent-free products and its own cream polish, standard polish can expand the fibers rather than nourish them.
Read moreSuede & Nubuck
Never cream or wax. Brush regularly, and deep clean with a suede shampoo when needed, drying with newspaper instead of shoe trees.
Read moreExotic Skins (Reptile, Snake, Ostrich)
Alligator, snake, and ostrich need gentle cleaning and a reptile-specific conditioner. Use wax sparingly, it can clog the texture.
Read moreShark Leather
Tough and grainy, but sensitive to sun, heat, and standing moisture. Blot spills immediately, clean gently with an exotic leather cleaner, and condition about twice a year.
Read moreOiled Leather (Chromexcel & Pull-Up)
Traditionally unwaxed. Condition with an oiled leather cream instead of standard cream polish or wax to preserve the pull-up texture.
Read morePatent Leather
No conditioning or waxing needed, just a dedicated patent leather cleaner for its glossy, coated surface.
Read moreNappa & Delicate Leather
More porous than calfskin. Skip Renovateur here and use a gentler, solvent-free balm instead to avoid darkening or staining.
Read moreSneakers
Mixed materials need a sneaker-specific cleaner, conditioner, and protector rather than standard dress shoe polish and wax.
Read morePainted Leather
We carry no products for painted leather, and don't recommend using ours on it, the oils and solvents can strip a painted finish rather than restore it.
Read more▶ See the full Leather Type Guide for detailed steps, tools, and videos for each type.
Long-Term Care & Storage
Professional Services
Some jobs go beyond what a home shine can fix. See our Shoe Service Help Page for a full breakdown of our Presidential Shoe Shine, High Shine, and Presidential Suede mail-in services, including turnaround time and rush options.